Description
Description for 3D Printed Animatronic Skull:
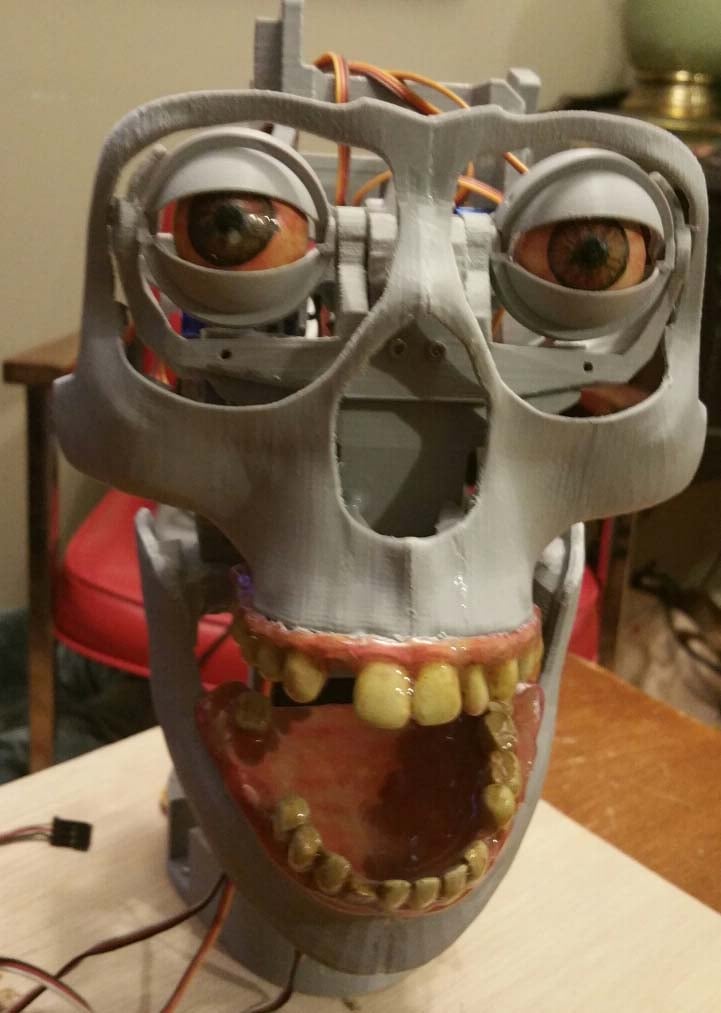
The 3D printed animatronic skull is a project that combines 3D printing technology, servo motors, and an Arduino Mega micro controller to create a lifelike skull that can move its jaw and eyes, adding realism to props or Halloween decorations. Here’s a brief description of how it works and the parts required:
- 3D Printed Parts: The skull itself is composed of various 3D printed parts, including the skull base, jaw, eye sockets, and any other details you want to incorporate for realism. These parts are designed to fit together and house the servo motors securely.
- Servo Motors: Standard servo motors are used to control the movement of the jaw and eyes. The jaw servo is responsible for opening and closing the skull’s mouth, while the eye servos control the movement of the eyeballs, allowing them to look around.
- Arduino Mega: The Arduino Mega serves as the brain of the animatronic skull, controlling the servo motors based on programmed instructions. It receives input signals and generates output signals to move the servos accordingly.
- Wires and Connectors: Various wires and connectors are needed to connect the servo motors to the Arduino Mega and power source. These connections allow the Arduino to send signals to the servos and power them appropriately.
- Power Source: Depending on the power requirements of your servo motors, you may need a separate power source such as a battery pack or an external power supply to power the Arduino Mega and the servos.
Parts List:
- 3D Printed Skull Parts (base, jaw, eye sockets, etc.)
- Standard Servo Motors (for jaw and eyes)
- Arduino Mega microcontroller board
- Jumper wires (for connecting components)
- Breadboard (optional, for prototyping and testing)
- Power source (battery pack or external power supply)
- Screws and nuts (for assembling the 3D printed parts and securing servos)
- Resistors and capacitors (for circuit stability, if needed)
- LED lights (optional, for additional effects)
Once you have all the parts assembled, you’ll need to write code for the Arduino Mega to control the servo motors based on your desired movements and behaviors. This code will involve defining servo positions, reading input signals (e.g., from sensors or switches), and implementing any desired sequences or patterns of movement for the skull.
With proper assembly and programming, your 3D printed animatronic skull will come to life, adding a spooky or realistic element to your projects or displays.
Reviews
There are no reviews yet.